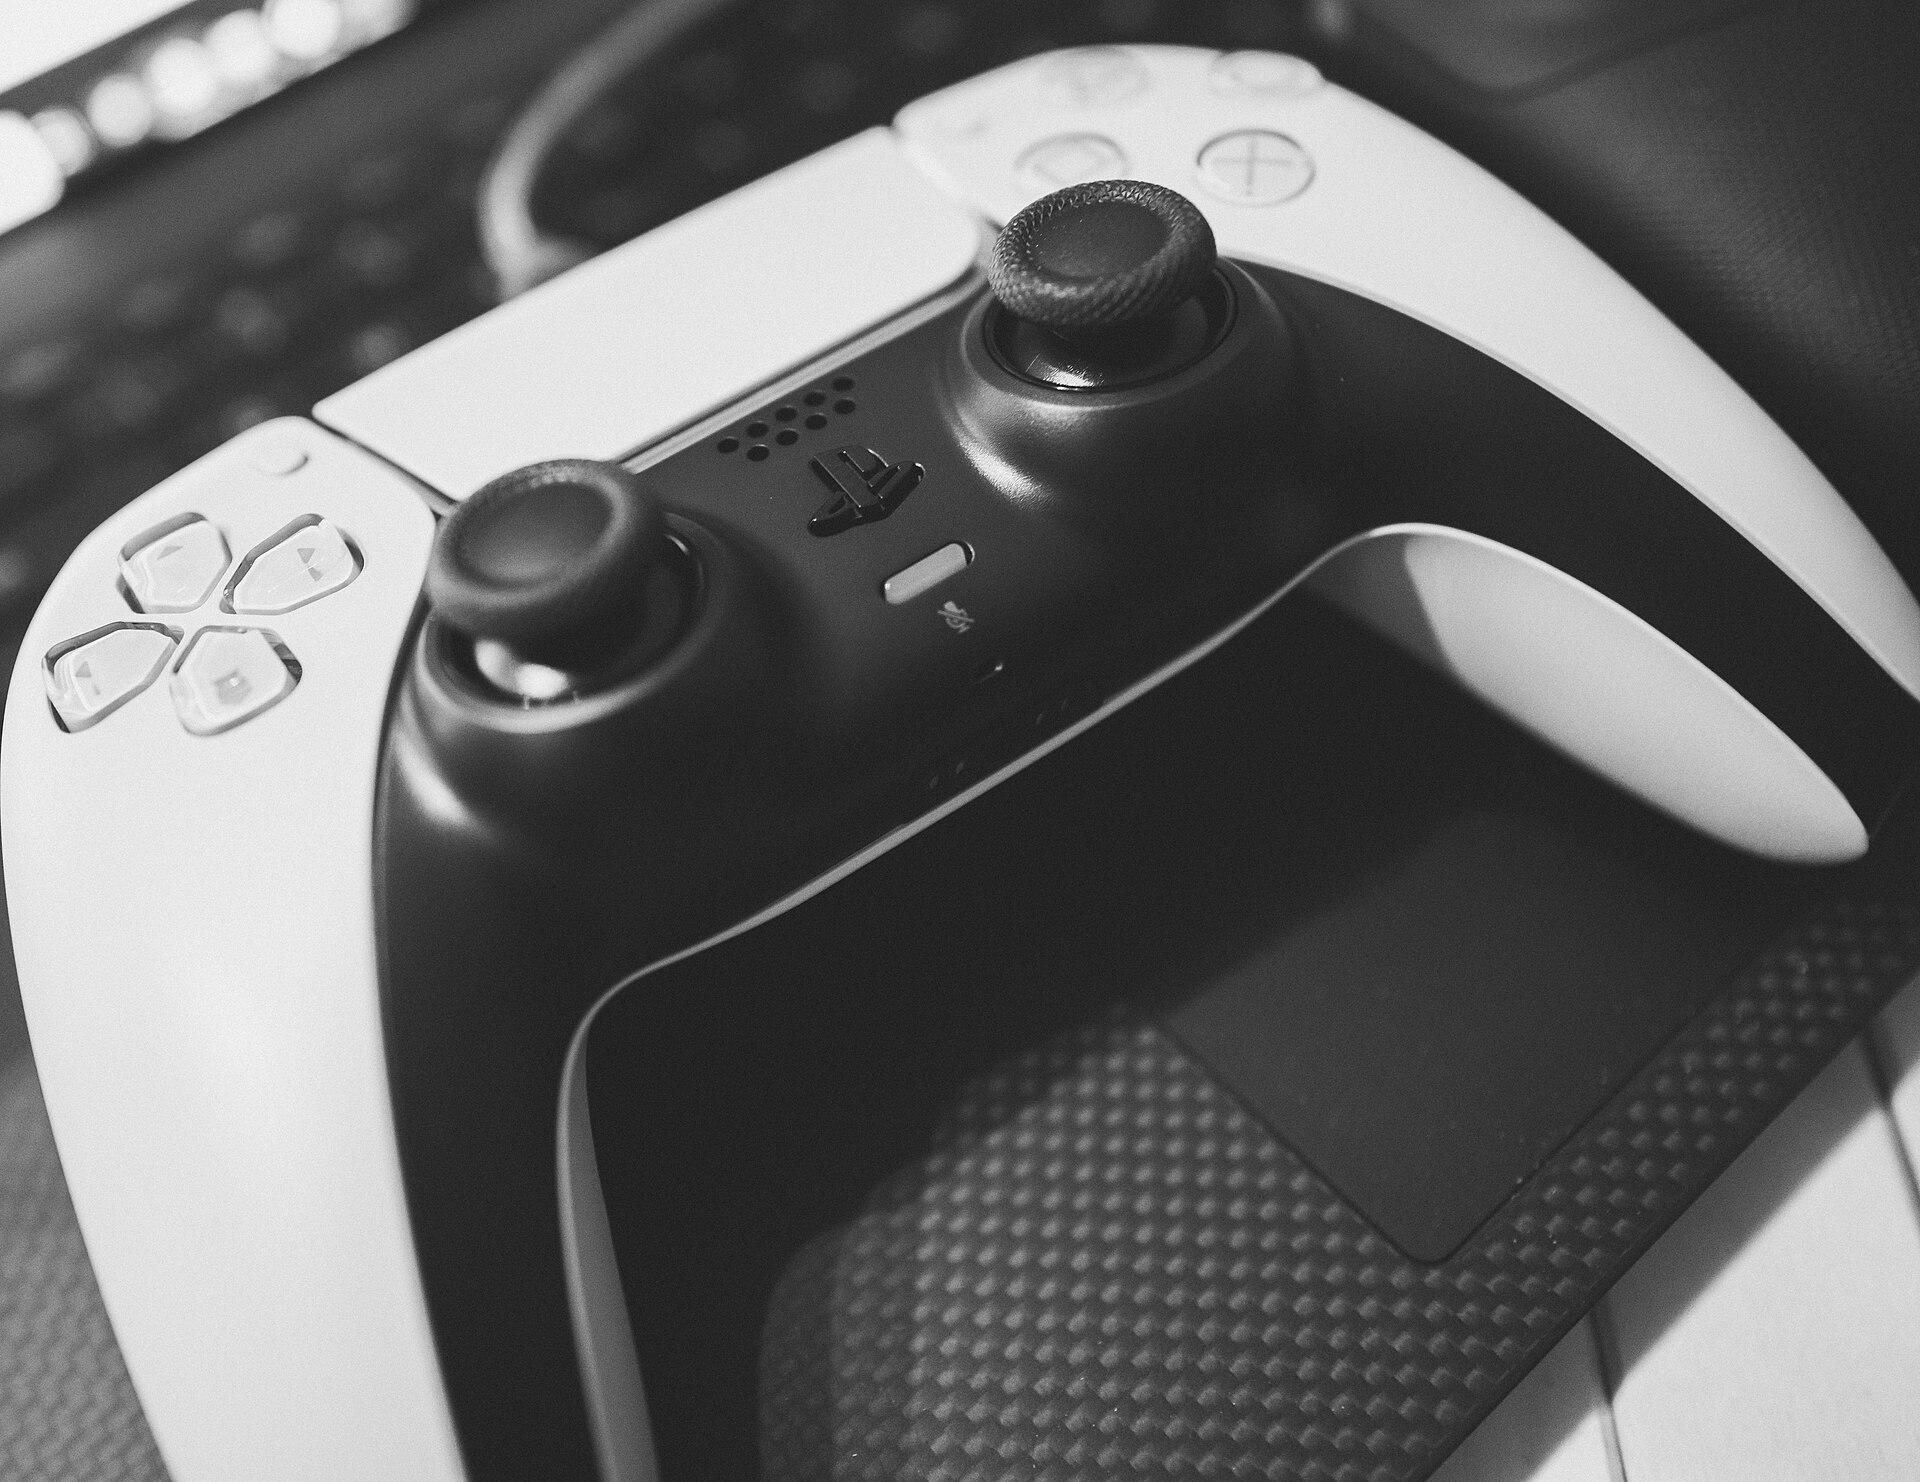
If your PS5 DualSense stick moves on its own, first test whether it happens in more than one game, then review that game's dead-zone settings. Use Sony's official controller software update and reset instructions before opening the device. Persistent drift across games can indicate worn or contaminated joystick parts, but it cannot be diagnosed from a menu symptom alone. If the problem continues, check PlayStation Repairs or a qualified technician rather than relying on risky cleaning shortcuts.
An analog stick that moves your aim when you are not touching it feels like a broken controller, but not every unwanted camera movement is evidence of a worn joystick. A game setting can exaggerate tiny inputs, a specific game can contain an input bug, and pairing or firmware problems can produce behavior that looks similar at first glance. True stick drift usually means that the controller reports directional movement even while the stick rests near its center. The useful first step is to separate an observation from an assumed cause.
This guide provides an evidence-first checklist for PlayStation 5 owners: compare games, identify the affected stick, inspect available settings, use Sony's documented software update and reset procedures, and decide when a professional repair or warranty claim is more sensible than further experiments. It deliberately avoids telling readers to pour liquid into the controller, disable account protection, open the shell prematurely or assume that every drift symptom has a free software fix.
Two distinct sources underpin the method. Sony's controller support pages cover officially supported connection, firmware and reset steps. iFixit's joystick analysis and repair documentation explain why contact-based thumbstick assemblies can mechanically wear, how parts are mounted and why replacement is not a simple button press. Both are useful, but neither can diagnose the internal condition of your particular controller over the internet.
What counts as DualSense stick drift—and what does not?
Start with the simplest definition: analog stick drift is an unintended direction reported by a thumbstick while the user is not intentionally moving it. That can appear as a camera slowly turning, a menu highlight stepping sideways, or a character walking without a deliberate command. An occasional twitch during a specific game is a symptom, not a component-level diagnosis. A controller with a worn center mechanism is one possible cause, but so are games with unusually small input dead zones and software that handles neutral input inconsistently. Before buying parts, describe what actually happens, when it happens and how often it repeats. For related reporting on diagnose and diagnosis, read Shader Compilation Stutter in PC Games: How to Diagnose It Without Guesswork.
Use the game screen only as the first observation. If a shooter camera moves while standing still, note whether movement is continuous or appears after you release the stick. If a menu moves unexpectedly, check that you are not also pressing the directional pad or using another connected input device. A controller can be physically healthy yet feel imprecise when settings are too sensitive. Conversely, a persistent unintended signal across unrelated software deserves further checking even if turning up the dead zone temporarily masks it. These are different diagnostic paths and should not be combined into one generic fix.
Step 1: reproduce the symptom across two different games
Choose two games that expose analog stick movement in an obvious way, preferably ones you already own. Stand still in each game and release both sticks completely, keeping your hands away for several seconds. Record which direction moves, whether the issue affects the left stick, right stick or both, and whether it starts immediately or only after extended play. A repeatable effect in several applications makes a hardware or device-level problem more plausible. A problem that appears only in one title points first toward that game's sensitivity, controls, accessibility mapping or current patch rather than proving the controller is damaged. For more gaming coverage, read Gaming news and guides.
A useful log needs no special equipment. Record the game title, controller connection method, affected stick and a short description such as 'right camera slowly turns left after the stick is released.' Then compare the second game under similar conditions. Do not press the stick harder to force a result: that changes the test. Also avoid moving directly from 'happens in two games' to 'replace the sensor.' It narrows the explanation but cannot distinguish physical wear from every possible controller configuration or firmware fault. The next tests deliberately address those less invasive possibilities first.
Step 2: check dead-zone settings without hiding the evidence
Many games offer a dead-zone option. It tells the game to ignore a small amount of stick input close to the neutral position. If unwanted movement disappears when you modestly increase that setting, you have shown that the game's interpretation of near-center input affects what you see. You have not proved why the input exists. Dead-zone menus are game-specific; there is no universal PS5 slider for every title. Take a screenshot of the original setting before changing it and make only one adjustment at a time so the test remains interpretable.
An extremely large dead zone can conceal minor drift while also making aiming and movement feel unresponsive. That is a trade-off, not necessarily a permanent repair. If a comfortable setting resolves the problem only in one game and the same controller behaves normally elsewhere, it may be reasonable to leave it in place. If drift continues to worsen, or the value must be raised so far that the game becomes hard to control, return to the broader diagnostic sequence. Avoid copying arbitrary 'perfect controller settings' from video clips: different games, controllers and players do not share one objective value.
Step 3: compare wired and wireless use carefully
Sony's support materials describe pairing a DualSense using a compatible USB connection and then using the controller wirelessly when sufficient battery is available. A temporary wired comparison can help identify whether unreliable wireless communication, power or pairing behavior contributes to the symptom. Use a known suitable USB cable, ensure the connector is seated without strain and test the same game scene for a similar duration. Be aware that whether a particular game or console actually sends controller input over USB depends on its supported settings; simply attaching a charging cable does not automatically prove that data is flowing over a wire.
If the behavior changes when you connect the cable, record exactly what improved: did the stick stop moving by itself, or did the controller merely disconnect less often? A disconnection, delayed button response and persistent analog drift are distinct symptoms. Also check whether you inadvertently switched controllers or accounts between tests. Do not treat improved wireless reception as proof that internal stick parts were repaired; potentiometer wear cannot be reversed by a stronger radio signal. An identical unwanted direction in both test modes keeps the mechanical hypothesis open and gives support teams a more useful report.
Step 4: install official DualSense firmware updates
On PlayStation 5, Sony directs users to the controller software menu under Settings, then Accessories, then Controller (General), where a DualSense wireless controller software update can be selected. The exact wording can vary with the console's language and software revision. Update through the official interface rather than downloading an unknown firmware package from a forum. Sony also provides a PlayStation Accessories application for supported PC-based controller updates. A legitimate update may address device software behavior, but Sony does not promise that it reverses worn physical parts.
Before starting, give the controller sufficient battery or follow the on-screen connection instructions, and avoid disconnecting it while the update is in progress. Afterward, repeat the controlled two-game test rather than immediately declaring victory. If nothing changes, record that fact: it helps separate a software update opportunity from a symptom that persisted across versions. If the controller cannot complete an update or repeatedly disconnects, consult the official support instructions for that error rather than applying advice intended for analog sensor wear. Good troubleshooting respects each problem's actual scope.
Step 5: use Sony's documented controller reset procedure
Sony describes a hardware reset for an ordinary DualSense controller. First turn off the PS5 console. Find the small recessed reset button on the back of the controller, press it with a suitable small tool, then connect the controller to the console using the appropriate USB cable and press the PS button. Follow the official support page for the precise sequence and illustrations rather than probing unknown openings. Sony states that this reset does not reconfigure the controller or change its pairing settings in the way some internet posts suggest.
A reset is an official troubleshooting step for controller problems, but it should not be advertised as a reliable cure for every drifting sensor. Recheck the exact direction, game and severity after the reset. If the same unwelcome movement remains, repeating the reset ten times adds little information. Do not use needles on exposed analog assemblies or dismantle the controller as part of this software-side procedure. If the device shows cracks, liquid damage, unusual heat or other physical hazards, stop ordinary testing and seek professional guidance rather than treating the situation as a minor calibration issue.
How mechanical wear creates real analog stick drift
iFixit's technical examination explains that the traditional DualSense thumbstick assembly uses potentiometers: moving parts slide along resistive tracks to translate stick position into an electrical signal. Over time, physical contact surfaces can wear or become contaminated. Centering springs and other pieces also influence whether the stick returns to a consistent neutral position. That mechanical explanation accounts for why some cases recur after a software reset and why a simple in-game dead-zone change may hide the symptom rather than restore the assembly.
None of this means that a controller has a predetermined failure date. Heavy use, individual manufacturing variation, environmental conditions and the exact motion pattern can all matter. Articles that take a component's rated number of cycles and convert it directly into a guaranteed lifespan for every gamer overstate what those ratings establish. Nor should a person infer that all DualSense controllers drift equally. The meaningful evidence is the behavior of your own unit plus any repeatable tests, not an internet percentage without verified sampling or a viral anecdote describing someone else's experience.
Why blasting cleaner under the stick is not a universal fix
Compressed air and cleaning advice often appear at the top of search results for controller drift. Light external maintenance can help remove visible surface debris, but that is different from repairing a damaged internal resistive track. A spray might also move contamination rather than remove it, while inappropriate fluids can damage plastics, adhesives or electronics. The right method depends on the exact model, the substance used and the level of disassembly. Sony's basic reset guidance does not instruct every customer to inject contact cleaner into the thumbstick housing.
If the controller is under warranty, aggressive home cleaning or opening the shell can complicate service depending on the applicable terms and local consumer law. Begin by checking the manufacturer's cleaning and service guidance. Use a soft, dry, appropriate cleaning method for accessible external surfaces, avoid flooding openings and never power a device while there is moisture inside it. Specialist repair guides may describe targeted internal cleaning after disassembly, but those instructions are intended for someone who understands the parts and associated risks. Treat a quick social-media trick as a claim to evaluate, not a safe universal policy.
When to request a Sony repair or warranty assessment
A controller that keeps drifting across multiple games after official software troubleshooting deserves formal assessment. Sony links its controller support pages to PlayStation Repairs, where the appropriate route depends on your region, model and reported issue. Before submitting a request, locate the model and serial number safely and retain purchase documentation if available. Sony notes that the ordinary DualSense serial number appears on the rear of the controller below the QR code. Avoid uploading a full serial number or purchase receipt to public comment sections.
Warranty coverage, statutory consumer rights and the availability or price of a service vary by country and circumstances; a web article cannot promise a free replacement. Describe the defect neutrally and explain the tests performed. 'Right stick moves right in two games even after the official reset and software update' is more actionable than 'Sony controllers are all defective.' Ask support about the correct shipping method, whether accessories should be included and how data or personal markings should be handled. If the unit is still covered by a seller or manufacturer remedy, understand that route before paying a third party.
Should you replace the joystick module yourself?
Replacement is possible, but ordinary DualSense stick modules are not designed to be swapped like a removable cartridge. iFixit's replacement guide describes disassembly and work involving soldered parts, and explicitly rates the process as difficult. It is not equivalent to changing batteries in a TV remote. An inexperienced attempt can lift pads, damage a flex cable or create a new fault that costs more than the original drift. Anyone considering this path should read the complete model-specific procedure, tool list and safety notes in advance and decide whether professional repair offers better value.
The DualSense Edge is a separate product with a different service design; Sony's Edge documentation describes user-replaceable stick modules for that controller. Do not assume a replacement Edge module fits a regular DualSense, or that a third-party product marketed with similar words has the same form factor and support. If a parts seller claims a Hall-effect or tunneling-magnetoresistance upgrade, check compatibility, calibration requirements and the supplier's evidence rather than assuming 'magnetic' guarantees a lifetime without drift. A manufacturer-supported solution with documented parts is often easier to evaluate than a promise of permanent reliability.
What a reliable controller repair quote should include
Once you have evidence suggesting internal wear, compare the actual repair decision with the cost of a replacement. A useful quote states the precise controller model, whether the work involves cleaning, module replacement or another diagnostic procedure, whether new parts are included, what testing will be performed and what warranty covers the repair. Ask whether the repairer has experience with modern surface-mounted electronics and analog calibration. The fact that someone can remove a shell does not automatically mean they can restore a repeatable neutral signal.
Do not judge a quote solely by the lowest initial amount. Shipping, diagnostic fees, calibration, delays and the possibility that the fault is elsewhere may alter the total. A reputable technician should explain uncertainty before charging for an unproven fix. If the controller is a limited-edition model or contains modifications, mention that in advance. If it has been dropped or exposed to liquid, disclose the event; concealing relevant damage wastes diagnostic effort. Keep written estimates and request the returned parts when practical and legally permitted.
A five-minute decision tree for gamers with a drifting DualSense
First, stop moving the sticks and see whether the game still reacts. Second, compare an unrelated game under the same conditions. Third, examine that game's dead zone without erasing the baseline. Fourth, check the console's official DualSense software update menu. Fifth, perform Sony's documented reset and retest. If the issue is limited to one game, investigate its controls and update notes; if it repeats after safe checks, gather the model, serial information privately and a concise video or written record for PlayStation Repairs. Each step should produce an observation that changes what you do next.
The important distinction is between a workaround and a repair. A higher dead zone may make a game playable while leaving the original signal unexplained. A successful controller update may resolve a software behavior without proving that all analog sensors are unaffected by wear. A persistent, reproducible signal from an untouched stick warrants service consideration, but does not justify opening the controller immediately. This guide explains a responsible process based on official support and iFixit's published repair analysis; it is not a promise of a particular outcome, an affiliate diagnosis or a report that Sony has released a new controller revision.