GAMING / PRACTICAL GUIDE
Steam Game Recording: Keep the Clip You Need Without Filling Your Drive
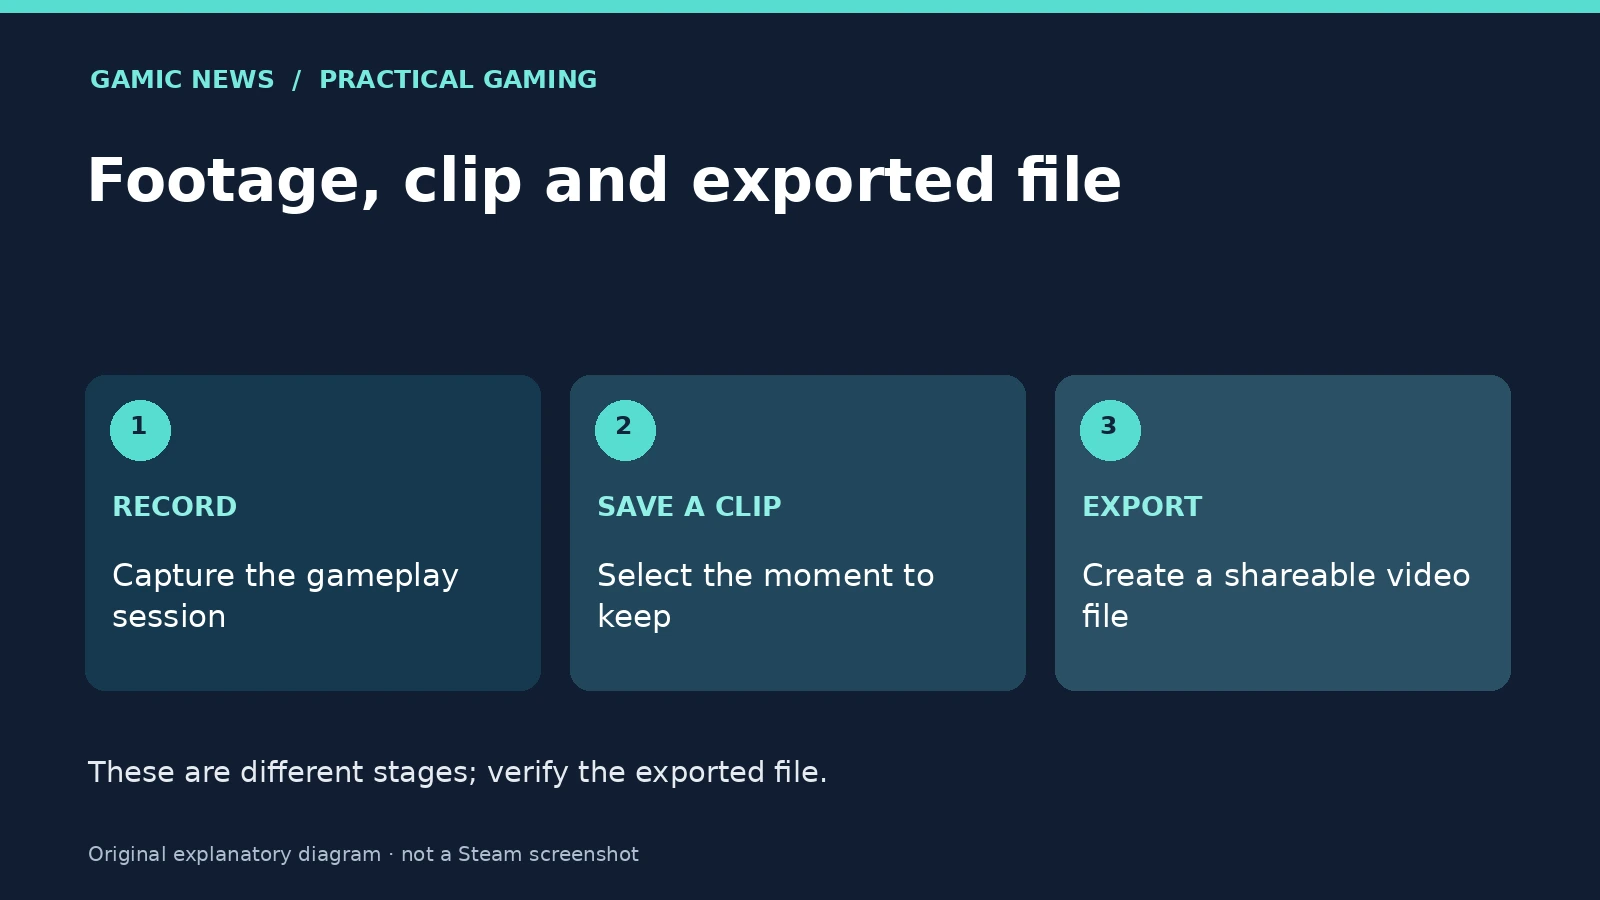
A Steam recording visible on a timeline is not the same thing as an exported video file. Decide whether you want temporary background footage, a saved highlight or a file to share. Then test a short clip, including its audio, before relying on a long recording session.
Choose the recording behaviour for the session
Valve documents two recording approaches: a background capture that keeps gameplay as you play, and on-demand recording started when you choose. Open Steam's Game Recording settings and review the current selection before an important session. A background option suits an unexpected highlight, while a planned demonstration may be easier to manage deliberately. Neither choice guarantees that a specific moment has already been preserved. Treat the first session as a rehearsal: make a brief recording, locate it, and inspect it before committing a whole evening. That small test gives you a concrete result on your own setup rather than relying on a generic performance claim.
Understand what the temporary buffer can overwrite
According to Valve's FAQ, background recording has a configurable storage allowance and older temporary footage is overwritten as the allowance fills. Saving a clip is the step that retains a selected moment. After something important happens, make and check the clip promptly rather than assuming the rolling recording will remain indefinitely. Separate the existence of a timeline entry from your intention to keep it. If the moment matters, locate the saved item and play its beginning and end. This is particularly useful after a long session when several similar matches or attempts are easy to confuse and the timestamp alone may not identify the right sequence.
Check the exported file, not just the editor preview
Valve distinguishes its recording format and timeline from an exported MP4 video. If your goal is to send a file to someone, select the relevant clip and use the available export workflow. Then inspect the resulting file from its destination folder. Check that it opens in a normal video player, contains the expected beginning and end, and includes the intended sound. A successful preview inside Steam does not by itself establish that an export completed or that you selected the correct destination. Name the file meaningfully so you can distinguish a final clip from an earlier test without reopening every video.
Keep a small storage inventory
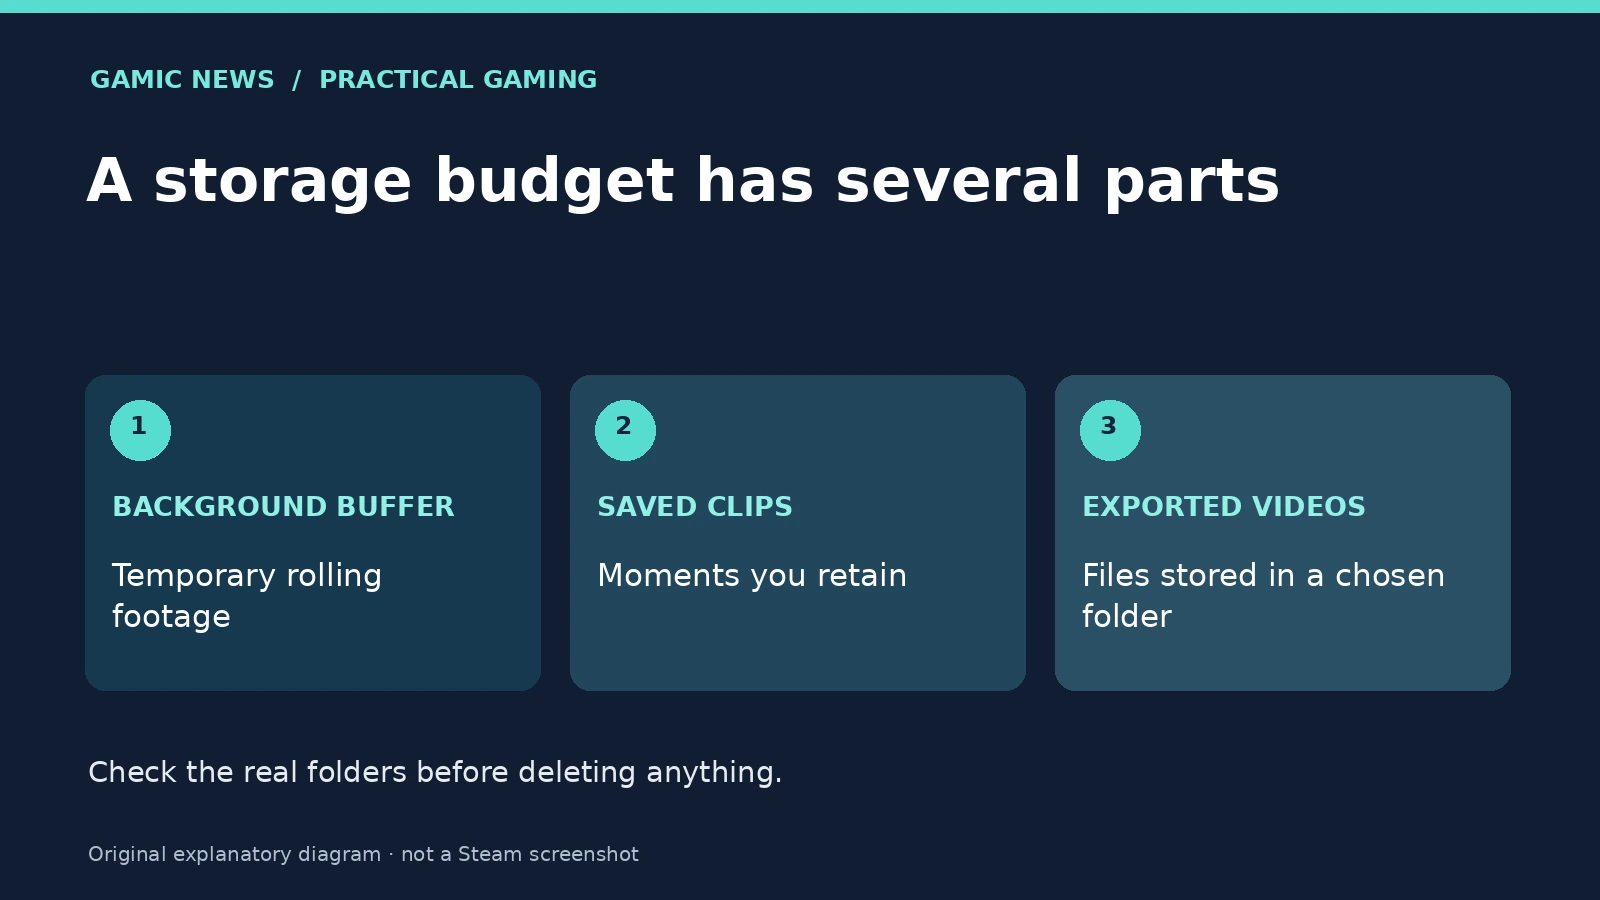
Write down the recording location configured in Steam and the folder used for your exports. Before a large cleanup, compare the files actually present with the clips you want to preserve. Saved clips and exported videos deserve attention in addition to the background allowance. Do not assume that one setting describes every video file elsewhere on the drive. If space is tight, move or remove only items you have identified and no longer need, after checking any copy you intend to keep. Avoid deleting an entire unfamiliar folder because a search result labels it a cache; its contents may include material you expected to retain.
Audio deserves its own rehearsal
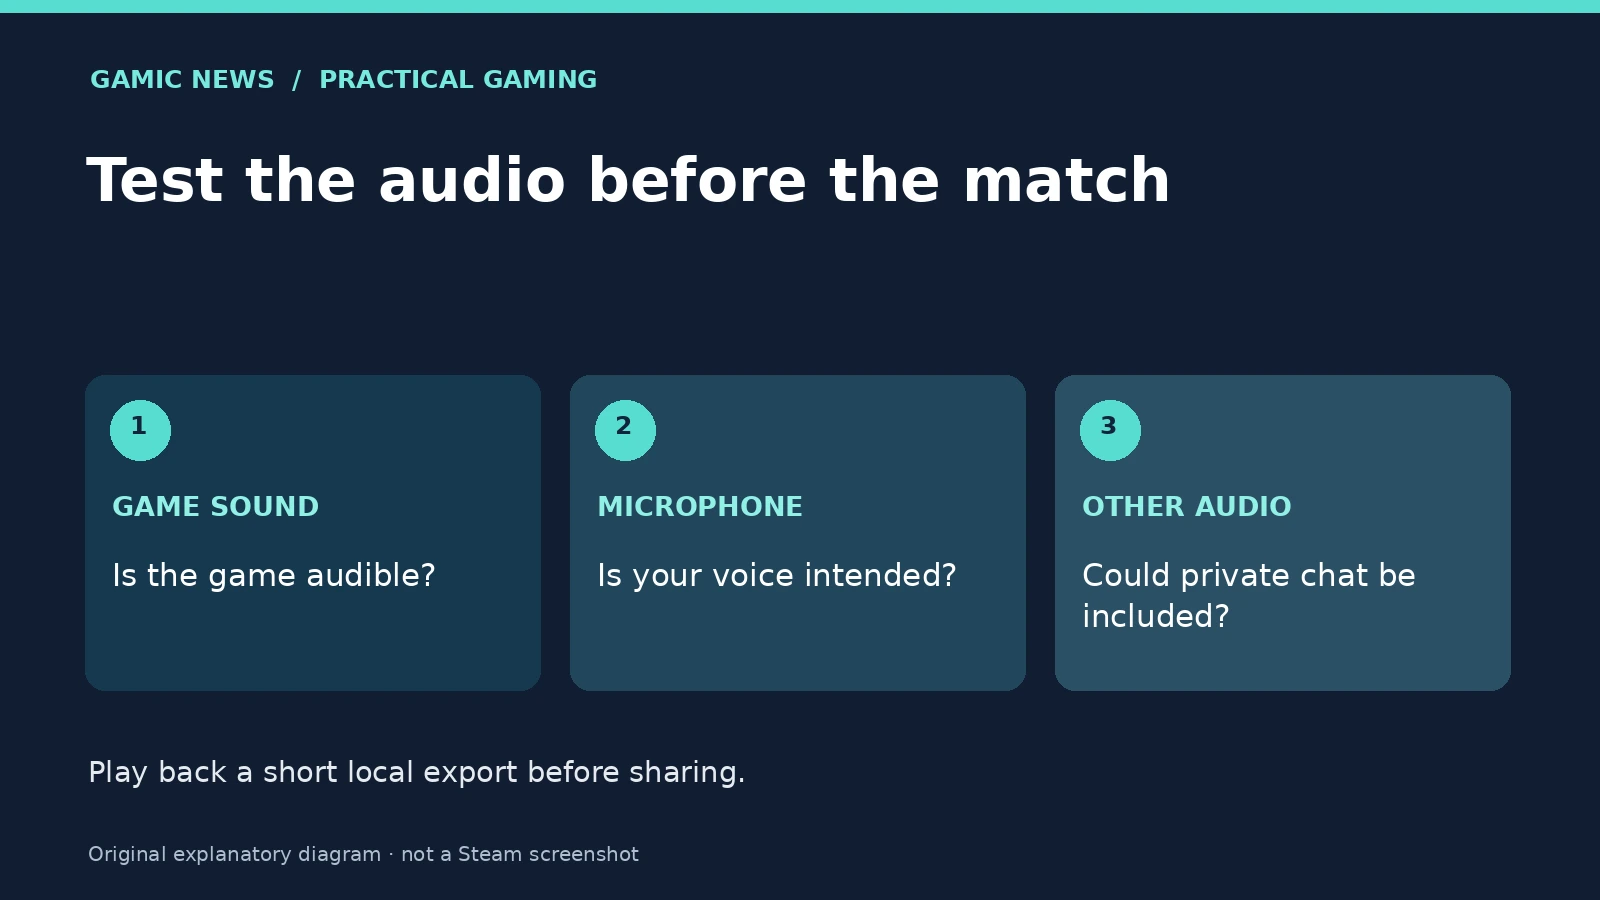
Valve explains that gameplay capture can include audio from other programs when configured to do so. Before sharing, consider whether private voice chat, a notification or another person's conversation could be included. Make a short test with the same audio sources you expect to use, then listen to the exported result. Tell other participants when their voices may be recorded and respect their preferences. A video can look correct while its audio makes it unsuitable to publish. Check for silence, missing game sound and an unexpectedly loud microphone as separate observations; changing several audio options at once makes it harder to identify which setting mattered.
Use one clip as an export rehearsal
Choose a short, unimportant moment for the rehearsal and export it to a folder you can identify. Open that file outside the recording viewer, then record its name and location. Try sending this test file through the same route you intend to use for the final highlight. Inspect the received copy if you can. This checks the full transfer path without risking an irreplaceable recording or spending a long session discovering that an export was saved somewhere unexpected.
Timeline markers are navigation aids
Steamworks documentation describes timeline integration that developers can use to identify gameplay moments. Such markers help find an event in supported games; they are not evidence that every game produces the same labels. If a recording has no useful markers, look for the moment by reviewing the timeline itself and use a short descriptive clip name afterward. Avoid diagnosing missing integration as a broken capture solely because another game's timeline looks different. For a reproducible support report, record the game name, the Steam client version and whether footage exists without the expected marker. Those details distinguish capture failure from a navigation or integration question.
Assess performance with a controlled comparison
This guide does not claim a measured frame-rate cost for your hardware. If recording appears to affect play, compare the same repeatable scene with recording enabled and disabled while keeping the other settings constant. Note the game, resolution, graphics settings and recording configuration. A built-in benchmark or a repeatable training area is more useful than comparing two unrelated online matches. Observe whether the problem is a visible hitch, reduced responsiveness, an audio issue or an export problem. Our frame-rate and stutter guide explains why those symptoms should not be collapsed into one average FPS number.
A final check before sharing a highlight
Open the actual exported file once more and confirm that it is the correct clip. Review the first and last frames, listen to the sound, check the filename and remove any unintended personal information before publishing. Keep a local copy until you know that a transfer completed. For a travel setup, consult our Steam offline preparation checklist separately: the ability to record gameplay does not establish that the game itself will start without a connection. The reliable result is a clip you have opened and reviewed, with a storage location you can find again.
Sources and method
Valve primary documentation checked on 6 November 2026. The troubleshooting sequence and comparison exercises are editorial guidance, not claims that we tested your account or measured your hardware.